
Clear, professional plumbing help
Gotta Go Plumbing

Toilet Installation & Replacement Services

A new toilet needs more than the right color and bowl shape. Gotta Go Plumbing checks the rough-in, shutoff valve, water supply, toilet flange, bathroom floor, drain opening, and available space before installing the fixture. That helps the new seal stay compressed, the toilet sit stable, and the connections remain accessible for testing.

Rough-in and fixture fit
Mounting and floor condition
Wax ring and base seal
Supply and flush testing

Installing a Toilet: Mounting and Floor Checks

The closet flange connects the fixture to the drain and anchors the toilet to the floor. A wax ring or other approved wax seal closes the space between them. If that fitting is cracked, too low, loose, or surrounded by damaged flooring, simply tightening the fixture can leave movement or a hidden leak. We inspect those conditions before we install a toilet. We also compare the rough-in, bowl dimensions, tank clearance, door swing, wall behind the toilet, shutoff, and supply connection so the selected model fits the room and the existing plumbing.

When to Replace an Existing Toilet

A rocking base, weak flush, recurring clog, visible crack, or water around the base can come from different conditions. We separate fixture trouble from mounting damage, floor movement, supply problems, or a restriction farther into the drain path before recommending replacement.

When replacement may make sense

  • The porcelain is cracked or damaged in a way that cannot be repaired safely.
  • The fixture rocks because its base is damaged rather than only loose hardware.
  • Repair parts are unavailable or poor value compared with replacement.
  • Repeated flush or internal-component trouble continues after reasonable repair.
  • The model no longer fits the household's comfort, height, or water-use needs.
  • A bathroom update already includes a compatible new fixture.

What we check before installation

  • Fixture rough-in, bowl shape, height, tank clearance, and available room.
  • Shutoff valve operation and visible water supply condition.
  • Toilet flange height, attachment, cracks, corrosion, and bolt slots.
  • Floor flatness, softness, moisture damage, and finished-surface condition.
  • Drain opening condition and symptoms that may point to a deeper blockage.
  • Manufacturer instructions, included hardware, seat, and connection requirements.

Compare Toilet Repair, Reset, and Replacement

Focused Repair or Toilet Reset

Best for: A serviceable fixture with a replaceable internal part, loose mounting, or failed seal where the porcelain and floor remain usable.

Considerations: We confirm whether the drain fitting, bowl, tank, mounting points, and nearby flooring can support a dependable reset before recommending this path.
Fixture Replacement

Best for: A cracked, worn, inefficient, uncomfortable, poorly fitting, or repeatedly troublesome fixture—or a planned bathroom update.

Considerations: Rough-in, bowl shape, height, flush design, seat height, tank clearance, shutoff access, and room layout affect selection.

What Determines Whether a New Toilet Will Fit?

We evaluateWhat we evaluateWhy it matters
Rough-in and wall clearanceDistance from the finished wall to the drain center and available tank spacePrevents a model from crowding the wall or failing to fit the drain location
Floor and mountingFinished-floor height, flatness, mounting elevation, attachment, and conditionSupports a stable fixture and a properly compressed seal
Bowl and seatRound or elongated new toilet bowl, fixture height, included seat, and room clearanceHelps match comfort needs without interfering with doors or nearby fixtures
Supply and shutoffValve condition, connection size, supply line reach, and accessConfirms the fixture can be isolated, connected, and checked for seepage
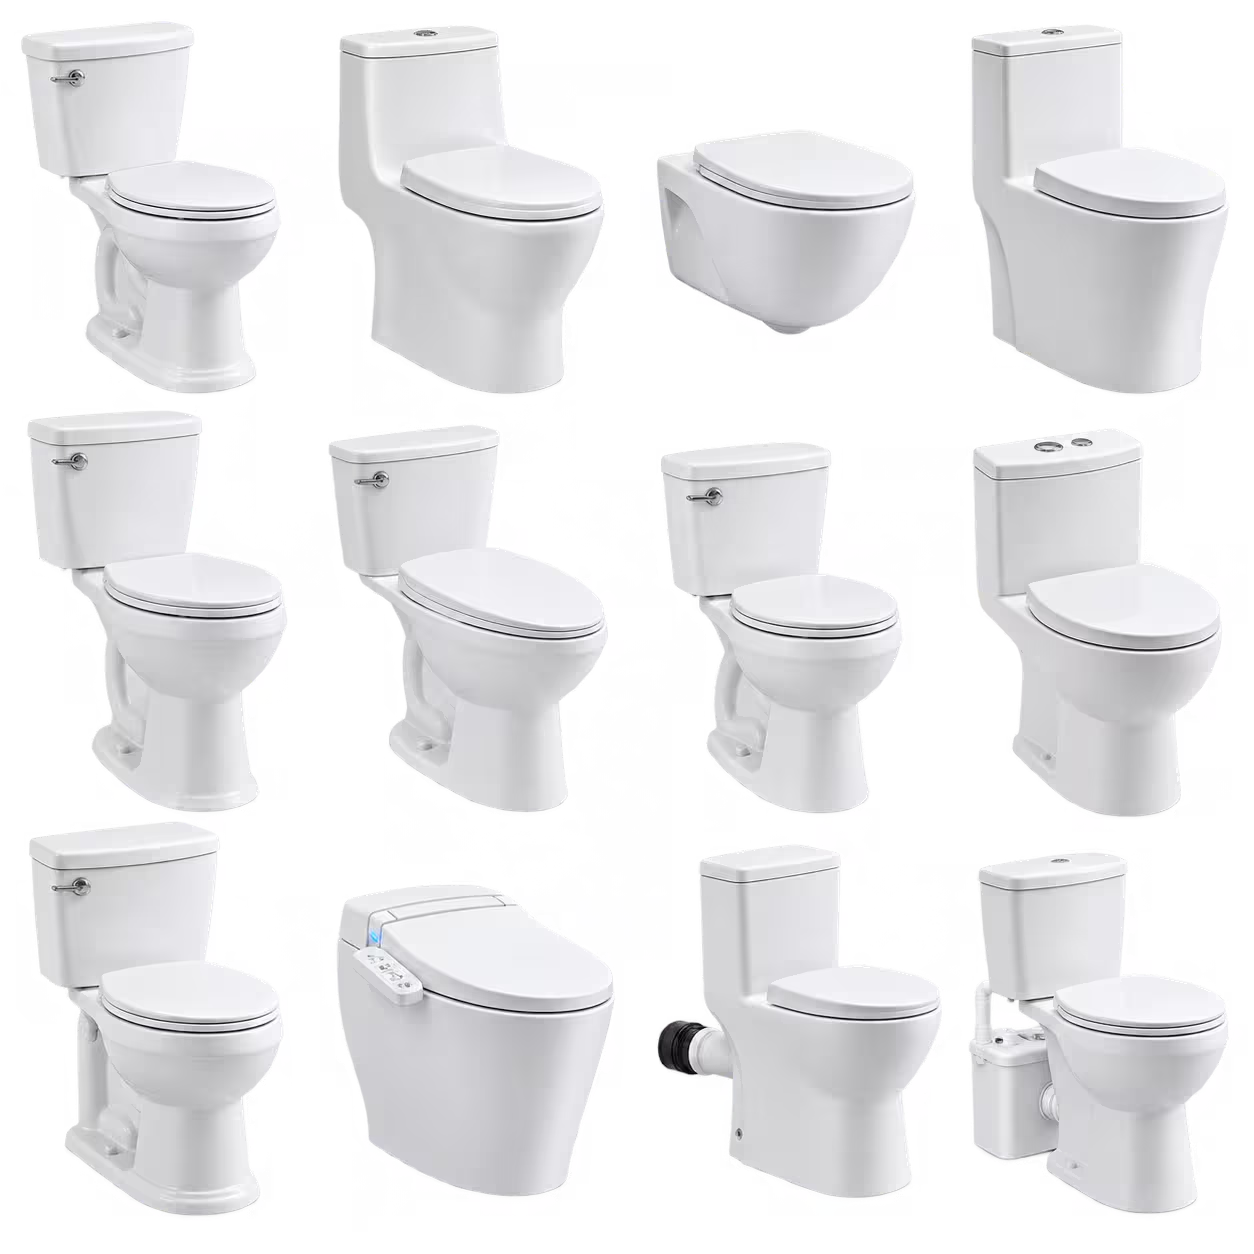
Tank and bowl configurationOne-piece fixture or separate tank and bowl assemblyChanges handling, assembly, weight, clearance, and installation sequence

What Professional Toilet Installation Includes

The completed fixture should sit stable, seal to the drain, fill and flush normally, and remain serviceable at the shutoff and supply connection.

Mounting and floor inspection

We inspect the drain fitting, mounting slots, finished-floor height, and nearby surface before setting a new seal.

A correctly placed wax seal

The seal is selected and positioned for the actual drain fitting and fixture. The underside is kept clean so the bowl can seat evenly.

Stable, careful mounting

The bowl is aligned over the closet bolts, lowered without smearing the seal, and secured without over-tightening porcelain.

Accessible water connection

We connect the water supply, check the shutoff and fill connection, and avoid a twisted or strained connector.

Flush, fill, and leak checks

We restore the supply, let the tank fill, test a full flush, inspect the base of the toilet and connection, and verify the fixture remains steady.

Professional Toilet Installation Process

This professional overview shows the sequence used to protect the room, verify hidden conditions, and install the new fixture. Exact steps follow the selected manufacturer's instructions and the conditions found at the home.

1

Confirm Fit and Protect the Work Area

We verify the rough-in and fixture dimensions, protect the bathroom floor, and review access before moving either fixture.

2

Isolate the Supply and Drain the Fixture

We close the shutoff, empty the tank, remove remaining water, and disconnect the supply line.

3

Remove the Old Toilet

We detach accessible hardware, lift the toilet carefully, move it out of the work area, and use a rag to control remaining water and temporarily protect the drain opening.

4

Inspect the Mounting and Prepare the Seal

We remove old seal material, inspect the flange and floor, set approved closet bolts or flange bolts, and address a damaged old flange before proceeding.

5

Set the Toilet and Connect the Supply

We place the toilet over the fasteners, lower the toilet evenly onto the seal, tighten the mounting hardware carefully, and connect the approved supply connector.

6

Test, Finish, and Review

We restore water, check fill and flush operation, inspect for movement or seepage, install the toilet seat when included, and review the completed work.

DIY Toilet Installation: Protect the Floor and Porcelain

Installing a fixture can be a reasonable home improvement or DIY project for someone who can safely move the weight and recognize mounting or floor damage. Stop if the shutoff will not close, the drain fitting is loose or broken, the floor feels soft, the drain is damaged, or the fixture cannot be handled without strain. A porcelain crack or stressed supply connection can change a planned installation quickly.

  • Never use the mounting nuts to force a rocking fixture flat against an uneven floor.

  • Do not reuse a compressed wax ring after lifting or repositioning the bowl.

  • Keep hands and tools clear when lowering a heavy fixture over exposed bolts.

  • Stop if the drain opening or subfloor needs repair beyond the planned fixture work.

What Affects Toilet Installation Cost?

Price depends on fixture configuration, access, removal, mounting and floor condition, shutoff and supply needs, and whether the replacement fits the existing rough-in.

  • Fixture size and configuration

    A standard two-piece model differs from a heavy one-piece unit, specialty fixture, concealed connection, or tight bathroom layout.

  • Mounting and floor condition

    A sound drain fitting at the right height differs from a cracked fitting, damaged bolt slots, poor elevation, or soft flooring around the drain.

  • Shutoff, supply, and haul-away scope

    A usable valve and compatible connector differ from a seized shutoff, corroded connection, access problem, or requested old-fixture disposal.

Toilet Replacement Across Our Service Area

Gotta Go Plumbing provides scheduled bathroom plumbing service across approved Kentucky and southern Indiana routes. When you plan to install a new toilet, we inspect the current setup, explain what installation requires, and provide the scope and price before approved work begins.

  • Install the new toilet
  • Existing fixture removal and disposal planning
  • Mounting, floor, and wax-seal inspection
  • Shutoff and supply connection
  • Seat installation and final flush testing

Final scope depends on fixture selection, rough-in, floor and mounting condition, shutoff operation, drain condition, access, haul-away needs, and applicable local requirements.

Toilet Installation FAQs

A practical step-by-step guide to fixture removal, mounting inspection, sealing, supply connections, and final testing.

Turn off the water supply, flush the toilet to drain the tank, remove remaining water, and disconnect the supply line. Remove the caps, nuts, and washers at the sides of the toilet, then remove the toilet without twisting against the mounting. If it is a two-piece unit and the manufacturer permits disassembly, the toilet tank may be separated; otherwise, plan how to move the entire toilet safely. Lift the toilet with help when needed, place it on a protected surface, and temporarily block odor from the open sewer connection without pushing material into the pipe.

After removing the old wax and debris, inspect the flange for cracks, corrosion, movement, damaged bolt slots, improper height, and weak flooring. The old flange should be securely connected and supported at the finished floor. If a new flange is required, its material, drain connection, elevation, and attachment must suit the existing piping and bathroom floor. A loose or unsupported fitting should be corrected before setting the fixture.

The approved seal may be positioned on the drain fitting or the underside of the bowl according to the product instructions. Center the new wax ring so the outlet lands squarely over the drain when you set the toilet in place. Once compressed, the ring should not be reused. If you lift it after setting, do not move the toilet back onto a disturbed seal; start again with a new one.

Position new closet bolts or approved flange bolts, then guide the bolts through the holes as you lower the toilet. Set the toilet in place with even downward pressure and confirm the toilet base sits stable. Install each washer and nut, alternating sides as you tighten by hand and then carefully use a wrench. Do not use an adjustable wrench to force the toilet to the floor; porcelain can crack and an uneven floor may need another correction.

Use a compatible connector of the correct length. Attach the supply line to the bottom of the tank and the shutoff without kinking or cross-threading. On a two-piece model, the tank to the bowl connection and bottom of the toilet tank should already be assembled with the specified gasket and hardware; insert the tank bolts only as the manufacturer directs. Turn on the water supply slowly, watch the fill valve and water level inside of the tank, and correct seepage without over-tightening.

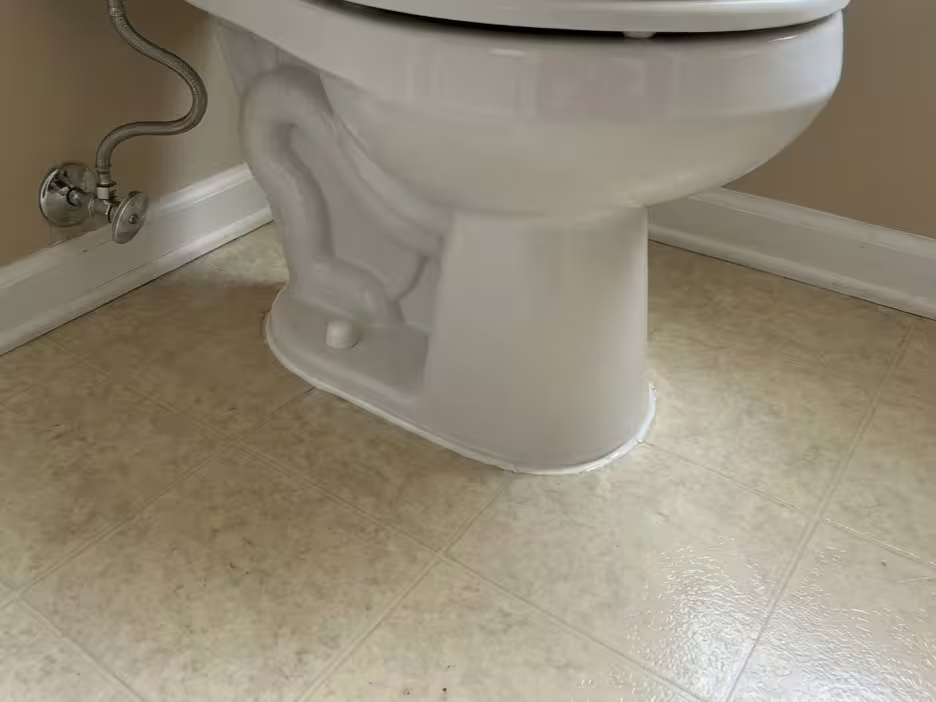
Requirements and accepted practice can vary. When the approved installation calls for it, apply a neat bead of silicone caulk around the base after the fixture is stable and dry. The finished joint should not hide movement or substitute for a sound wax seal. Some practices leave a small opening at the back so escaping water is easier to notice; local requirements and the installation plan control the final detail.

Install the toilet seat according to its hardware instructions, confirm the tank and bowl are stable, and restore water. Let the tank fill, then flush the toilet more than once while checking the supply, tank connection, bowl, and area around the toilet. The fixture should remain steady, refill normally, shut off cleanly, and show no visible moisture at the base or connections.

Professional help is appropriate when the shutoff does not work, the fixture is too heavy to move safely, the mounting or floor is damaged, the drain opening is questionable, the rough-in does not match, or repeated clogs point beyond the fixture. A plumber can plumb the approved connection, explain when to repair or replace the toilet, and separate fixture installation from drain or structural work that needs a different scope.
Talk to a Plumber