
Clear, professional plumbing help
Gotta Go Plumbing

Professional Kitchen Faucet Installation & Replacement Services

A new fixture must fit the sink, available mounting holes, countertop thickness, shutoff valves, supply lines, and space underneath the sink. Gotta Go Plumbing checks those conditions before installation so the body sits securely, the spout reaches the bowl, and the connections remain accessible for testing.

Sink holes and deck fit
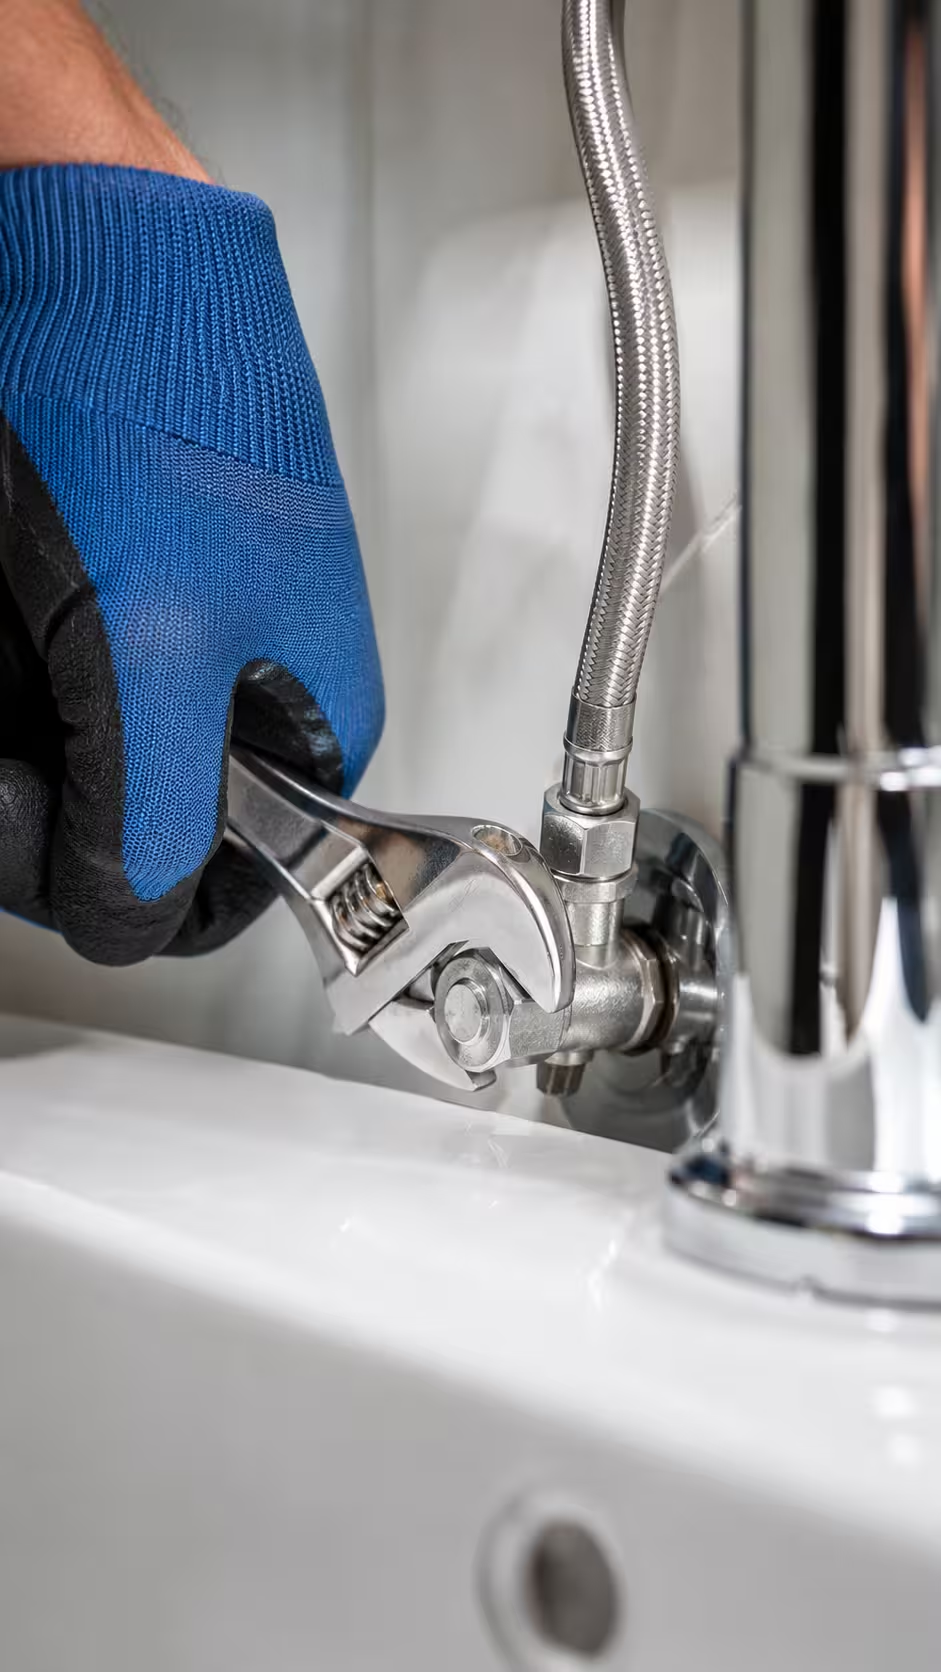
Shutoff and supply review
Spray-head hose routing
Flow and leak testing

Installing a New Faucet: Sink and Shutoff Checks

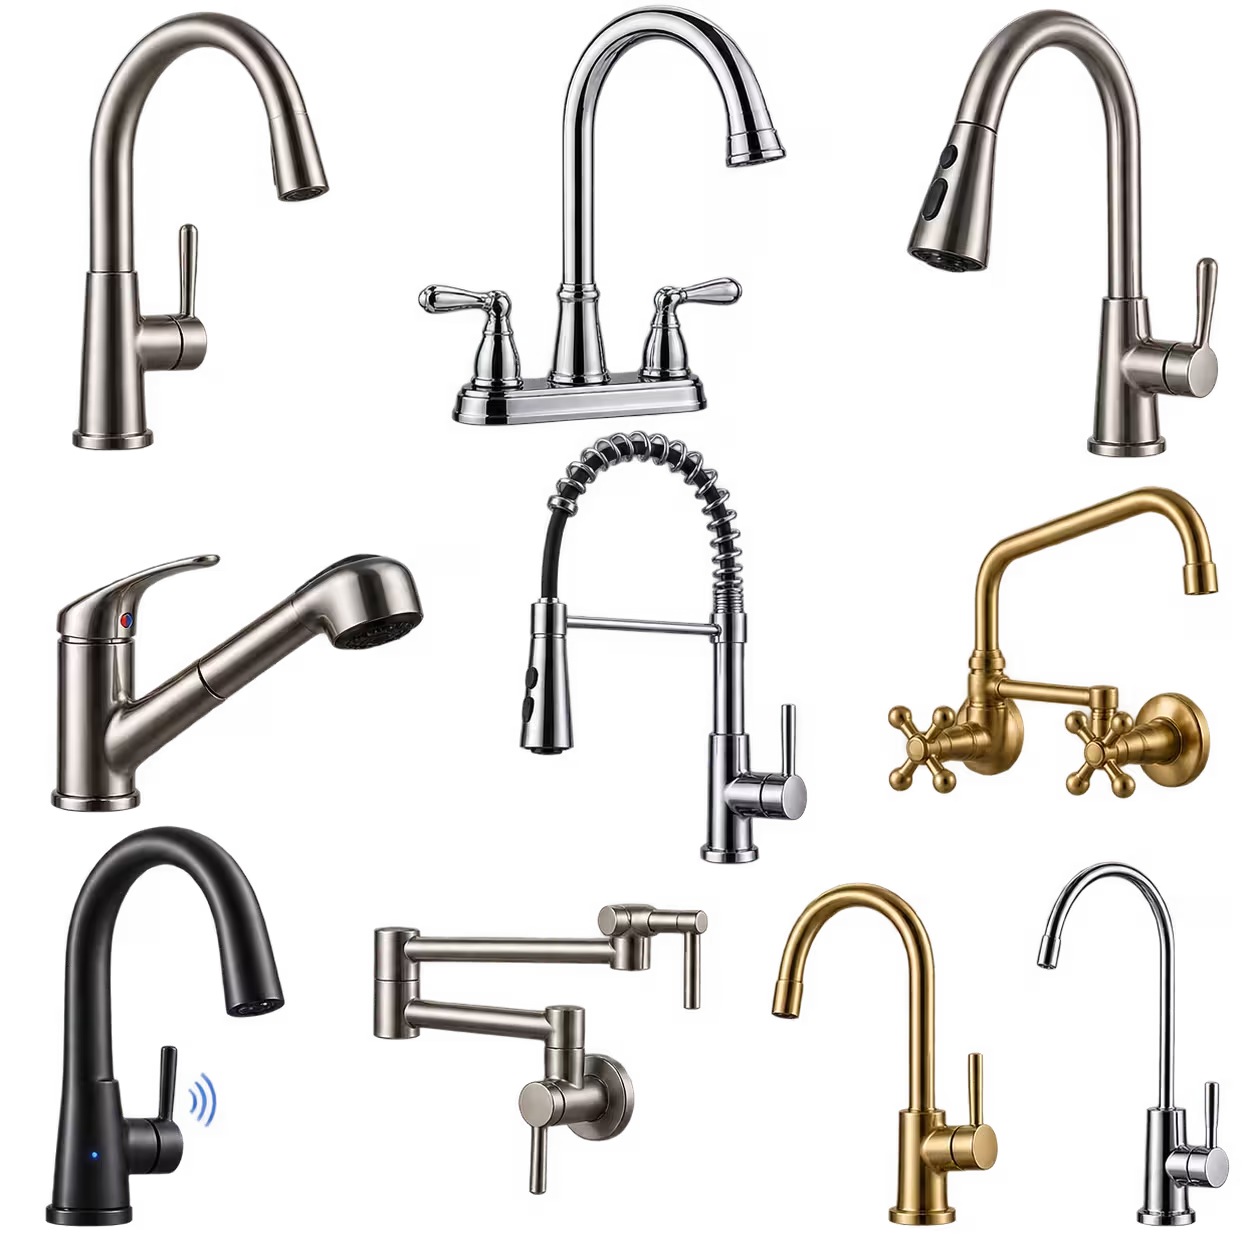
Before we install a kitchen faucet, we see how many holes are available, confirm the deck thickness, check the hot and cold valves, and compare the fixture's mounting requirements with the kitchen sink. A single-hole faucet, a double handle design, a side sprayer, or a separate soap dispenser can require different openings and clearances. We also inspect the current fixture, supply line, connector routing, and cabinet space. That helps prevent a mounting nut, pull-down hose, or connection from interfering with the basin, disposal, shelving, or stored items.

When to Replace or Repair a Kitchen Faucet

A drip, loose handle, weak stream, stiff control, or moisture below the sink can come from different parts. We determine whether the problem is at a cartridge, aerator, connection, spray head, fixture body, shutoff, or nearby connector before recommending replacement.

When a new faucet may make sense

  • The body is cracked, badly corroded, or leaking through a non-serviceable area.
  • The same handle, cartridge, or connection problem keeps returning.
  • Repair parts are unavailable or poor value compared with replacement.
  • The current design no longer fits the household's reach or spray needs.
  • A replacement sink or countertop changes the mounting arrangement.
  • Upgrading your kitchen faucet is already part of an approved remodel plan.

What we inspect first

  • Sink and counter material, number of holes, spacing, and deck thickness.
  • Hot and cold water supply, shutoff operation, and connector condition.
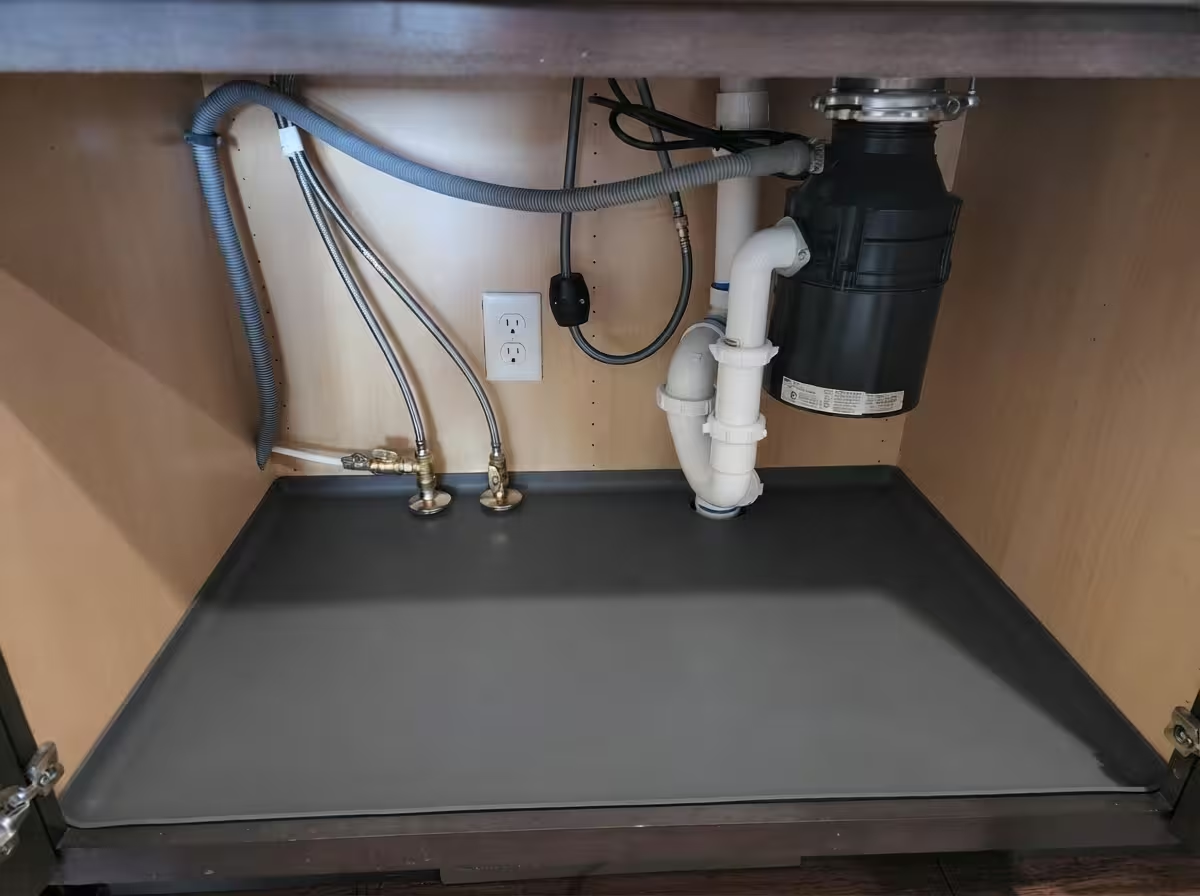
  • Cabinet access, basin clearance, disposal location, and stored-item space.
  • Spout reach, handle travel, retractable weight, hose path, and docking space.
  • Cover plate, gasket, mounting hardware, spray head, and accessory requirements.
  • Manufacturer’s instructions and included installation parts.

Compare Repair and New Kitchen Faucet Installation

Focused Fixture Repair

Best for: A serviceable body with a replaceable cartridge, aerator, hose, spray head, seal, or connection.

Considerations: We confirm that compatible parts are available and the body, finish, mounting, and shutoffs remain worth keeping.
Complete Fixture Replacement

Best for: A cracked, corroded, loose, poorly fitting, repeatedly troublesome, or functionally outdated fixture.

Considerations: The type of faucet, sink-hole pattern, spout reach, control style, spray function, finish, accessories, and cabinet clearance affect selection.

What Determines Whether a Sink Faucet Will Fit?

We evaluateWhat we evaluateWhy it matters
Mounting holesNumber, spacing, diameter, deck thickness, and unused openingsDetermines whether the fixture needs a deck plate or separate accessories
Spout and handle reachBasin dimensions, spout projection, height, rotation, and handle travelHelps direct water into the bowl without crowding a wall or backsplash
Supply connectionsShutoff size, connector type, built-in hose length, and hot/cold routingConfirms the connectors can reach without kinks or strain
Spray functionPull-down kitchen faucet, pull-out spray, side spray, or fixed spoutChanges hose routing, counter openings, weight clearance, and daily use
AccessoriesSoap pump, filtered-water tap, air gap, or opening coverUses available holes and may affect the final deck layout

What Professional Installation Includes

The completed faucet assembly should be secure at the deck, connected without strain, clear of moving cabinet parts, and tested under normal use.

Verified sink and deck fit

We compare the assembly to the sink openings, confirm gasket or sealant requirements, and position it for useful spout and handle movement.

Secure, even mounting

We hold the faucet in place while the approved gasket, washer, bracket, or mounting nut is secured from below without stressing the deck.

Correct supply connections

We connect approved water supply lines to the shutoff arrangement and route each connection without twisting or abrasion.

Clear sprayer and hose movement

For a retractable design, we route the hose and weight so the end of the hose moves freely and returns to the dock.

Flow, temperature, and connection checks

We restore flow gradually, test both sides, operate the spray functions, flush the aerator as directed, and inspect for seepage.

Professional Kitchen Faucet Installation Process

This overview explains how we protect the sink, verify hidden conditions, and install the fixture. Exact steps follow the manufacturer’s instructions for the selected model.

1

Confirm the Fixture and Sink Fit

We compare the fixture, mounting pattern, spout reach, accessories, connectors, and available cabinet space before disassembly.

2

Turn Off the Water and Relieve Pressure

We close and verify both shutoffs, open the current faucet to relieve pressure, and protect the cabinet area.

3

Remove the Existing Fixture

We separate the connectors, release the mounting hardware, detach any spray hose, and lift the existing fixture without damaging the sink surface.

4

Clean and Prepare the Mounting Area

We remove old residue, clean the deck, confirm the installation instructions, and place the specified gasket, putty, or sealant.

5

Mount the Faucet and Connect the Lines

We set the fixture, align it at the deck, tighten the approved hardware, connect each water line, and route the spray components.

6

Restore Water and Test Operation

We open the water valves gradually, let the water run, clear the lines, test controls and spray modes, inspect underneath the sink, and review the work.

DIY Guide: Know the Under-Sink Safety Boundary

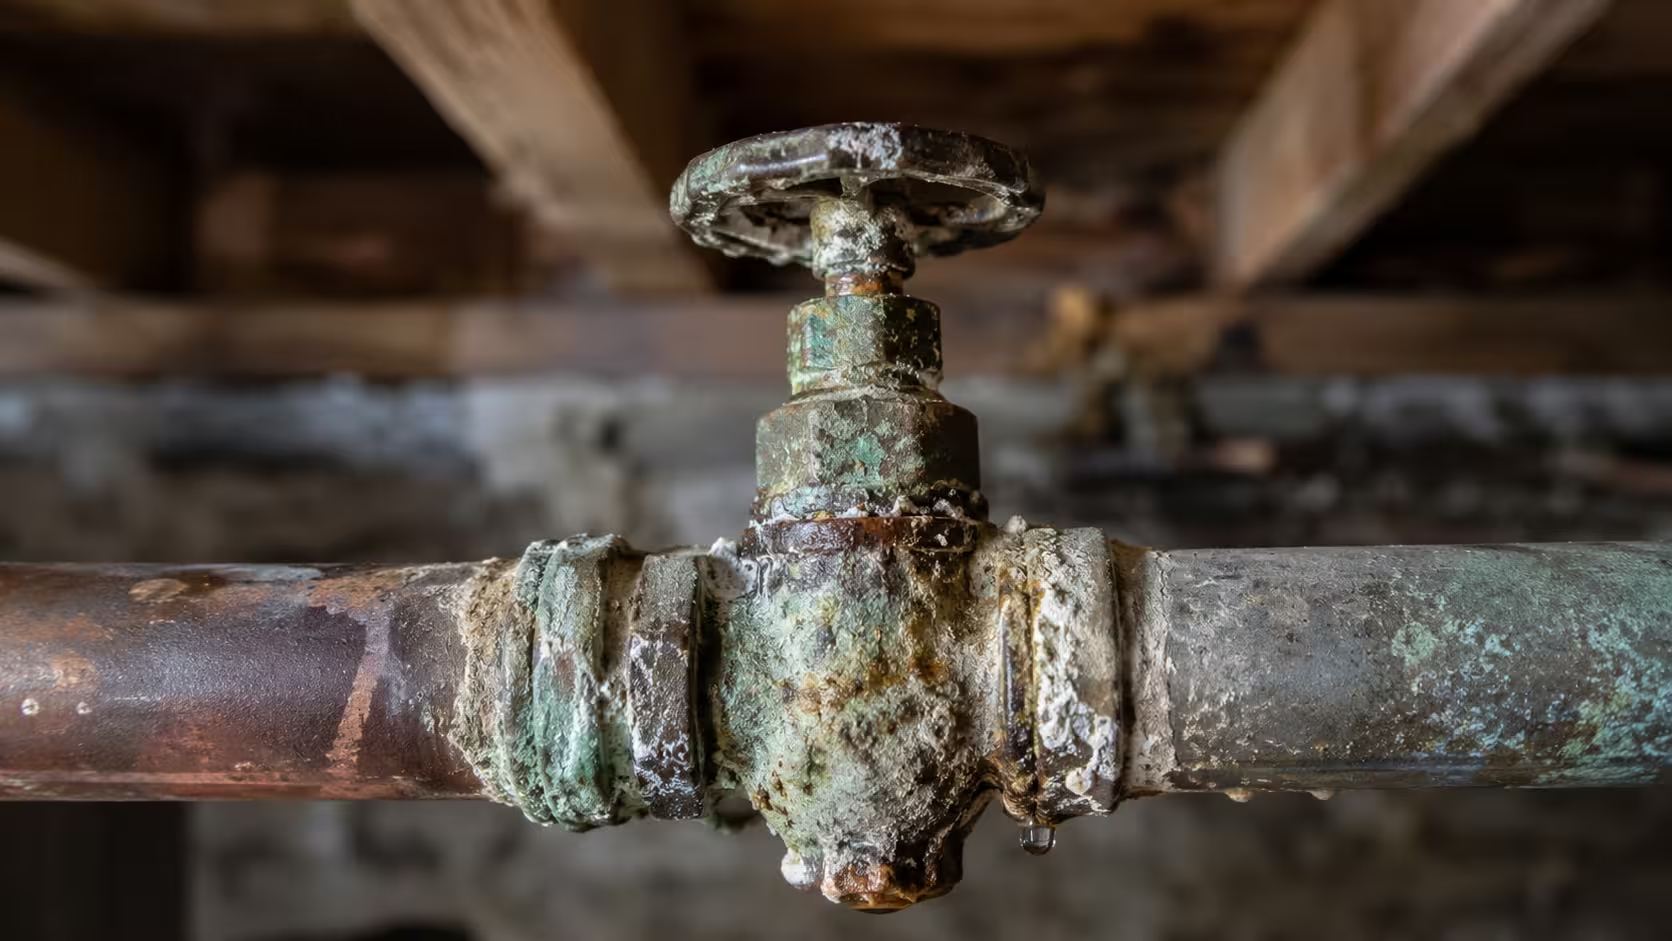
A home improvement project can become more involved when shutoffs will not close, fittings are corroded, access is tight, or the existing faucet is difficult to release. Turn off your water at working shutoffs before removing anything. Stop if a valve begins to seep, a rigid pipe moves, the sink is damaged, or the replacement does not match the openings.

  • Do not force a seized mounting nut against a thin or fragile sink deck.

  • Do not use Teflon tape where the connection seals with a gasket or compression surface.

  • Keep tools clear of disposal wiring and other equipment underneath your sink.

  • Follow the fixture installation instructions for sealant, hose clips, weights, and flushing.

What Affects Installation Cost?

Price depends on fixture design, sink-hole compatibility, cabinet access, removal difficulty, shutoff condition, connector needs, and accessories.

  • Fixture and sink compatibility

    A direct single handle replacement differs from a multi-part design, thick deck, unusual opening pattern, or added accessory.

  • Removal and cabinet access

    Open access differs from a corroded mounting nut, deep basin, disposal interference, rigid piping, or limited tool clearance.

  • Shutoff and connector condition

    Working shutoffs and compatible connectors differ from seized controls, damaged threads, corrosion, or piping changes.

Fixture Service Across Our Service Area

Gotta Go Plumbing provides scheduled kitchen plumbing service across approved Kentucky and southern Indiana routes. We inspect the setup, explain what replacement requires, and provide the scope and price before approved work begins.

  • Old kitchen faucet removal
  • Old fixture removal
  • Sink-hole and deck-plate planning
  • Shutoff, supply, and spray connection
  • Final flow and moisture testing

Final scope depends on fixture selection, sink and counter condition, mounting pattern, cabinet access, shutoff operation, connector compatibility, accessories, and local requirements.

Kitchen Faucet Installation FAQs

A practical step-by-step guide to fixture fit, old-fixture removal, mounting, supply connections, retractable components, and final testing.

The exact list depends on the fixture and access. Common items may include a basin wrench, work light, towels, bucket, approved connectors, and supplied mounting parts. Plumber’s putty or another sealant is used only when the sink and manufacturer permit it. Teflon tape is appropriate only for specified threaded joints, not gasketed or compression connections.

Turn off the water at both accessible shutoffs and open the fixture to relieve pressure. Verify flow has stopped before working underneath the sink. Use a wrench to loosen each connector; use your wrench to disconnect the supply fitting only while supporting the water supply valve so rigid piping is not twisted. If a shutoff will not close or begins seeping, stop and correct that condition before continuing.

Disconnect the supply lines and any spray hose, then identify the mounting nut or bracket below the deck. Use a wrench; use a basin wrench when access requires it. Follow these steps only when it is safe to remove your faucet. Remove the mounting hardware with the appropriate tool, hold the faucet from above, and lift the old fixture without prying against the sink.

See how many holes are present and measure their spacing before choosing a fixture. A single-hole faucet may fit one opening or use a cover plate over unused holes. A double handle design, side spray, accessory pump, or filtered-water tap may need additional openings. Counter thickness and cabinet clearance also matter.

Follow the installation instructions for the supplied gasket, bracket, washer, nut, and sealant. Feed the faucet assembly through the correct opening, keep it aligned, then tighten the connections or mounting hardware evenly from below. Do not overtighten against a thin sink deck, and do not substitute putty where the manufacturer specifies a dry gasket or another sealant.

Identify each side, then route the connectors without crossing, kinking, or rubbing. Connect the water supply lines to compatible shutoffs and hand-start the threads before using an adjustable wrench to tighten the fitting. Apply only the force the connection type and manufacturer require. The cold water line belongs at the cold valve, and built-in hoses should not be stretched to reach.

Install a single-handle retractable model according to its hose, clip, and weight arrangement. Route the hose so it clears the basin, disposal, plumbing, and stored items. Connect the end of the hose as directed, then test full extension and docking. The weight should help the spray head return without striking a shelf or another pipe.

Turn the water on slowly and inspect every connection before placing items back in the cabinet. Remove or open the aerator as directed, let the water run, and clear the lines of installation debris. Test hot, cold, mixed flow, handle travel, spout movement, and spray modes. Reinstall the aerator, check for leaks, and confirm the mounting remains secure.

Professional help is useful when shutoffs do not work, fittings are corroded, access is limited, rigid piping moves, the sink opening is damaged, or the selected fixture does not fit. A homeowner should also stop if disconnecting the old fixture creates a leak. A plumber can explain the safe installation process, identify needed parts, and separate fixture work from sink, shutoff, or piping repairs that require a different scope.
Talk to a Plumber