
Clear, professional plumbing help
Gotta Go Plumbing

Garbage Disposal Install & Replacement Services

A unit that hums, jams, drips, or no longer fits the way your kitchen is used may need repair or replacement. Gotta Go Plumbing checks the sink opening, mounting assembly, appliance connection, drain alignment, and available power before recommending the practical next step.

Sink flange and mounting review
Dishwasher inlet connection
Drain and trap alignment
Operation and watertight testing

Safe Disposal Installation Starts With the Sink

A new garbage disposal must match the sink opening, cabinet space, drain height, dishwasher connection, electrical setup, and the way the kitchen is used. The unit is only one part of the system. The sink flange seals at the basin, the mounting assembly supports the weight, the discharge tube carries waste to the trap, and the power connection must match the manufacturer's listing. We inspect those conditions before work begins. That helps us explain whether a focused repair is still reasonable, whether it is time to replace a garbage disposal, and what is included if you decide to install a new unit.

When to Install or Replace a Garbage Disposal

A jam, hum, odor, slow drain, or drip can come from different parts of the sink-side system. We confirm whether the problem is inside the unit, at the sink seal, along the drain, or at a nearby appliance connection before recommending replacement.

Signs replacement may make sense

  • The motor does not run after safe reset and jam checks.
  • The housing is cracked, badly corroded, or leaking through the body.
  • The same jam, noise, or seal problem keeps returning.
  • Repair parts are unavailable or poor value compared with replacement.
  • The existing unit does not support the planned appliance connection or kitchen use.
  • A sink update requires a new mount or drain arrangement.

What we check first

  • Sink material, sink opening, cabinet clearance, and visible water damage.
  • Existing sink flange, retaining ring, mounting tabs, and support condition.
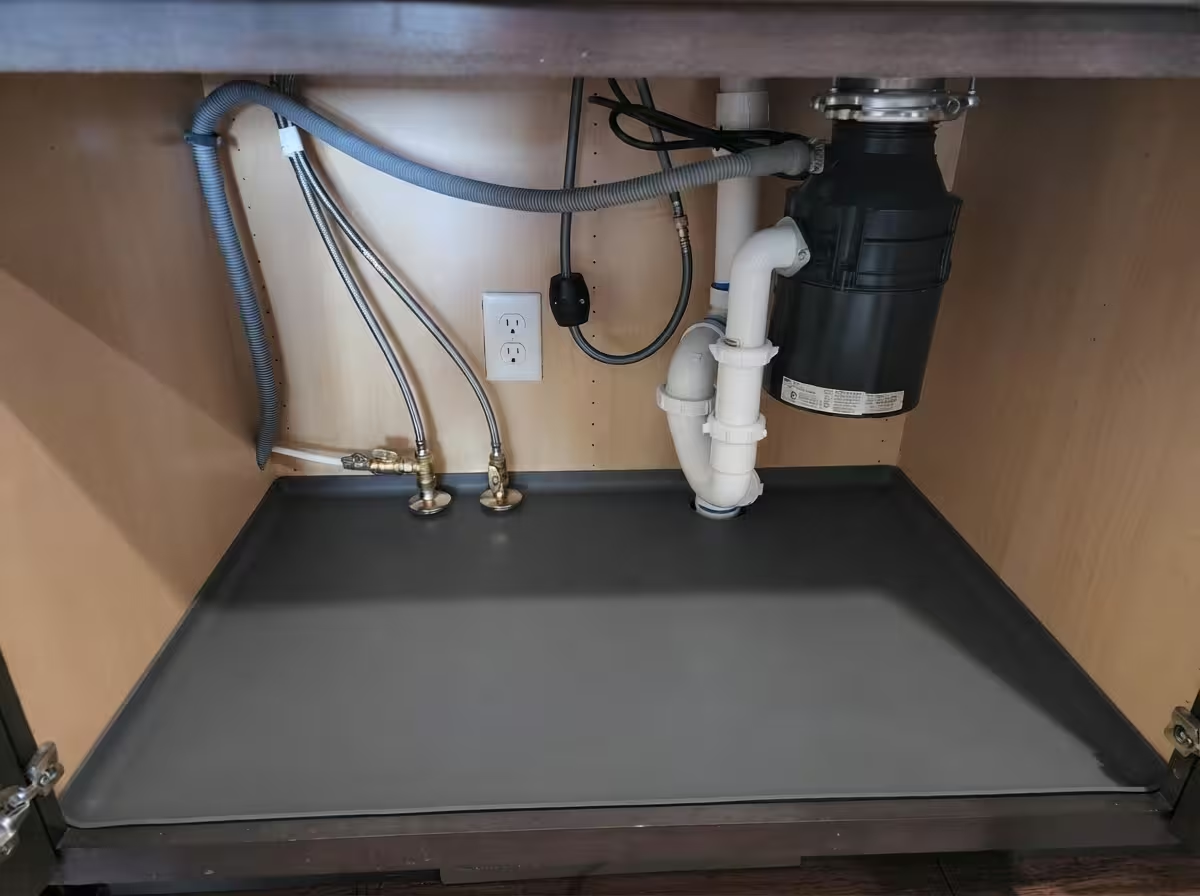
  • Unit size, drain elevation, drain elbow, trap, and alignment.
  • Dishwasher inlet, drain connection, securement, and any required air gap.
  • Approved electrical connection, outlet, switch, circuit, and whether electrical coordination is needed.
  • Manufacturer installation instructions and compatible replacement parts.

Compare Garbage Disposal Repair and Replacement

Focused Unit Repair

Best for: A serviceable unit with a correctable jam, loose discharge connection, worn splash guard, or replaceable seal.

Considerations: We confirm that the body, motor, mount, and drain layout are still worth keeping before recommending repair.
New Unit Replacement

Best for: A failed, leaking, badly corroded, undersized, or repeatedly troublesome unit.

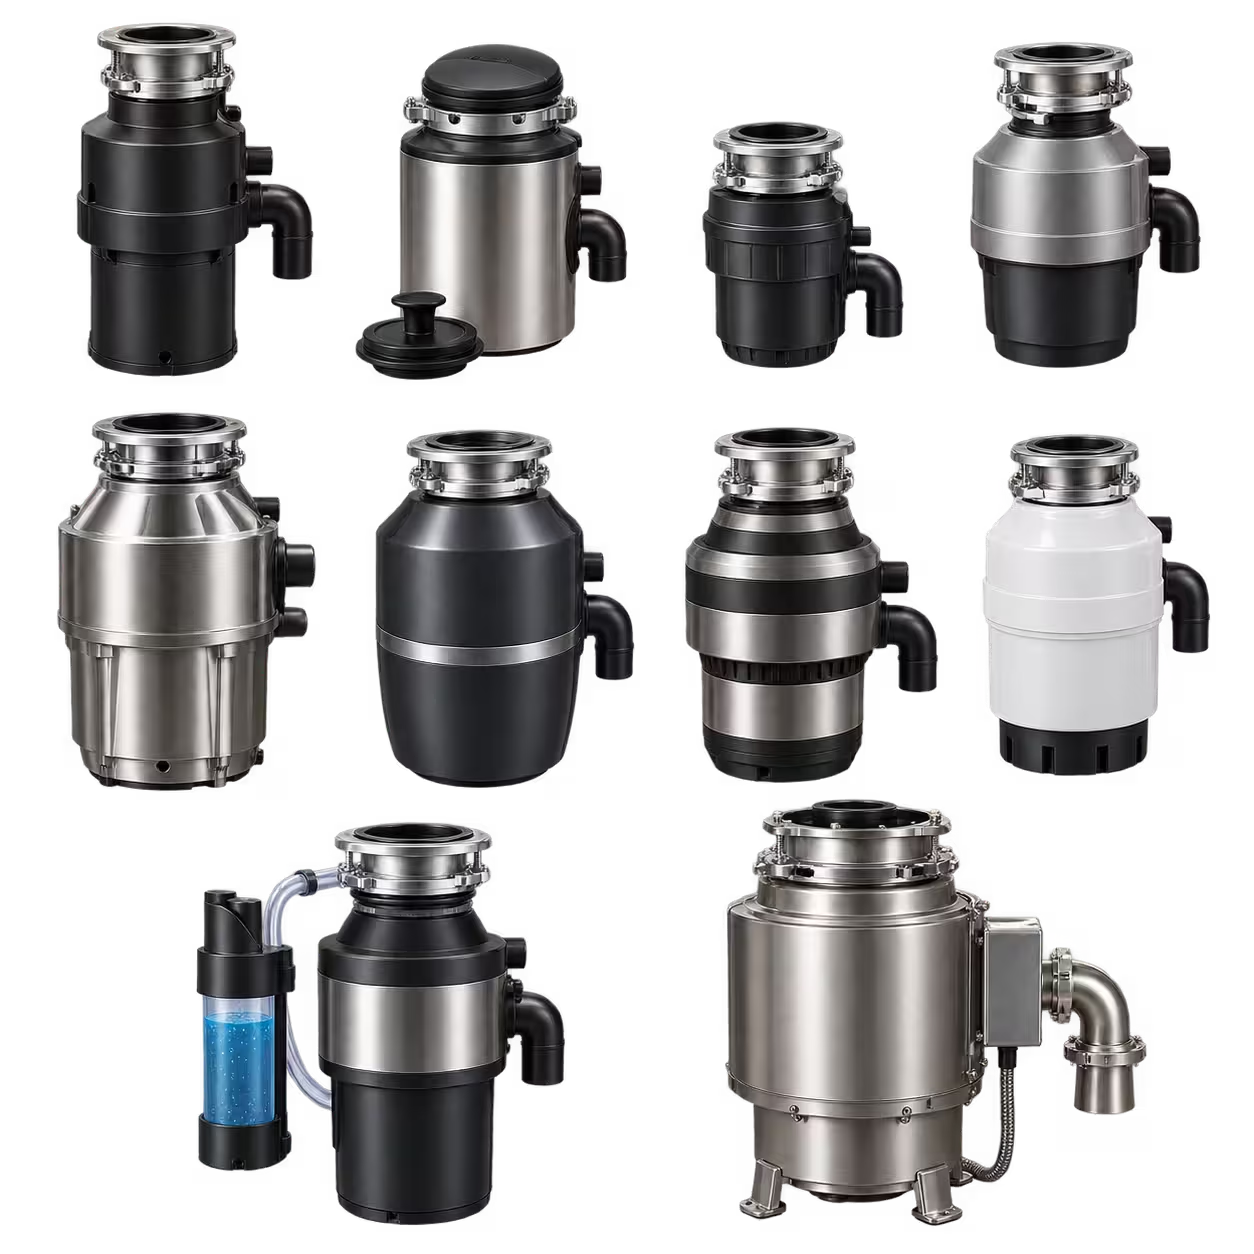
Considerations: Horsepower, sound insulation, feed type, sink material, connected-appliance use, cabinet space, drain height, and electrical listing all affect the selection.

What Determines the Right Garbage Disposal Unit?

We evaluateWhat we evaluateWhy it matters
Sink and flangeSink material, opening, thickness, and mounting conditionDetermines whether the new drain collar and support parts fit correctly
Household useCooking habits, household size, and expected food-waste loadHelps select practical motor capacity without overselling the unit
Drain alignmentDischarge height, tube position, trap, and wall connectionShows whether the drain tube is aligned with the drain trap
DishwasherDrain route, inlet port, tubing size, fastener, and air gapPrevents a missed knockout plug or unsupported appliance connection
Power setupApproved cable or hardwired connection, switched receptacle, grounding, and circuit conditionConfirms whether the plumbing visit needs qualified electrical coordination

What Professional Installation Includes

The completed assembly should be supported, electrically appropriate, aligned with the drain, and tested under normal sink and connected-appliance conditions.

A properly sealed sink fitting

We clean the sink surface, use the approved sealant method, seat the parts evenly, and remove excess material after the mount is secure.

A secure support assembly

The fiber gasket, backup ring, locking ring, snap ring, and mounting screws must sit in the correct order and support the unit without movement.

The correct appliance connection

When the appliance is present, we confirm the inlet is open, route its drain line correctly, secure the clamp, and preserve any required high loop or air gap.

Aligned drain and trap

We fit the drain elbow without forcing the unit or creating a poor slope, then reconnect the trap with serviceable joints.

Power, operation, and watertight checks

After approved power is restored, we run water, operate the unit, verify the sink and drain connections are watertight, and explain normal use and reset steps.

Step-by-Step Garbage Disposal Installation

This overview explains the professional sequence. Exact mounting, wiring, and appliance-connection steps follow the installation instructions supplied with the selected model.

1

Inspect the Sink and Existing Disposal

We identify the failure, compare the replacement dimensions, and inspect the bottom of the sink, cabinet, drain, connected appliance, and power source.

2

Disconnect Power and Plumbing Safely

We switch off and verify the circuit, disconnect the approved power connection, loosen the drain fittings, and remove the old unit without placing stress on the sink.

3

Prepare the Sink Mount

We remove old material, clean the drain opening, install the approved sink flange seal, and assemble the supporting rings and fasteners in the manufacturer-specified order.

4

Set the Disposal in Place

We lift and rotate the unit onto its mount, confirm the tabs are locked, connect the appliance branch when used, and insert the drain connection without forcing the trap.

5

Complete the Approved Power Setup

We install the listed power cord or coordinate the hardwired connection, verify strain relief and grounding, and keep power off until the plumbing assembly is ready for testing.

6

Run Water and Test Operation

We fill and drain the sink, inspect each joint, operate the unit, check the appliance branch when accessible, and review the completed work with you.

DIY Garbage Disposal Setup: Know the Safety Boundary

Online videos can make replacement look like a short mechanical task, but sink material, drain height, hidden corrosion, appliance routing, and electrical conditions can change the work. The unit combines water, a motor, sharp internal components, and a switched circuit. Power must be isolated and verified before anyone touches the electrical connection, wiring compartment, or mounting system.

  • Turn off the correct circuit and verify the equipment is de-energized before disassembly.

  • Never place a hand inside the grinding chamber, even when the switch is off.

  • Hardwired changes, damaged receptacles, missing grounding, or questionable circuits may require an electrician.

  • Manufacturer requirements control the approved mount, electrical parts, tools, and connection sequence.

What Affects Installation Cost?

Price depends on whether the project is a compatible direct replacement or requires changes to the sink fitting, mount, drain, appliance branch, cabinet, or power setup.

  • Unit and mounting compatibility

    A direct replacement is different from a heavier model, farmhouse sink, damaged opening, corroded mount, or missing support parts.

  • Drain and appliance changes

    Drain alignment, trap replacement, inlet preparation, new tubing, and air-gap requirements can change the scope.

  • Power and cabinet access

    A listed connection and usable switched receptacle are different from damaged wiring, a hardwired change, limited access, or required electrical coordination.

Kitchen Disposal Service Across Our Service Area

Gotta Go Plumbing provides scheduled kitchen service across approved Kentucky and southern Indiana routes. We inspect the sink-side conditions, explain whether repair or replacement fits the evidence, and provide the scope and price before approved work begins.

  • Garbage disposal replacement
  • Sink fitting and support assembly installation
  • Appliance inlet and drain-line connection
  • Drain elbow and trap alignment
  • Operation and final watertight testing

Final scope depends on the selected model, sink and cabinet condition, drain height, connected-appliance routing, power arrangement, access, and applicable local requirements.

Garbage Disposal Installation FAQs

Answers about mounting, appliance connections, drainage, power, tools, and homeowner safety.

A DIY installation is appropriate only when the person understands the sink mount, drain, dishwasher, and electrical requirements and can verify that the circuit is off. The job may require a screwdriver, wrench, plier, approved sealant, replacement drain parts, and model-specific hardware. Stop if the sink is damaged, the drain does not align, the receptacle or wiring is questionable, or the manufacturer requires work outside your experience.

The sink surface and drain opening are cleaned first. When the sink and manufacturer allow it, plumber’s putty is rolled evenly; plumber's putty around the new sink flange forms the seal before pressing it into the sink opening. From the bottom of the sink, the installer may slide the fiber gasket, backup ring, and mounting ring into place, hold the fitting from above, fit the snap ring into its groove, and tighten the three mounting screws evenly. The exact order follows the selected model rather than a universal shortcut.

The unit is supported while the mounting tabs engage the ramps on the mounting ring. The manufacturer's method may tell the installer to hold the disposal in place and turn the lower mounting ring until the three tabs are locked and the assembly is tightly seated. Some models use a wrench that came with the unit; others allow a suitable screwdriver at the tab. The connection should not be forced or left partly engaged.

If a dishwasher drains through the new unit, its inlet must be opened before the connection is attached. The manufacturer may direct a qualified installer to place the disposal on its side and use a screwdriver and hammer to knock out the plug, then remove the plug from inside the chamber. After mounting, the dishwasher drain hose is routed correctly, the installer can slide the clamp into position, and the connection preserves any required high loop or air gap. The plug stays in place when no connected appliance uses that inlet.

The installer fits the gasket and tube to the disposal outlet, then checks that it is aligned with the drain trap. The goal is to insert the discharge connection without twisting the unit, straining the support assembly, or creating poor slope. The p-trap is reassembled with serviceable slip joints, each screw or nut is tightened appropriately, and the sink is filled and drained to verify a watertight result and complete a final leak check.

The selected unit may use a factory-installed power cord, a listed connection kit, or an approved hardwired connection. Before anyone opens the wiring compartment, the correct circuit breaker is switched off and the circuit is verified. Model instructions may call for a flathead screwdriver to remove a cover and may explain how qualified personnel connect the wires, grounding conductor, and strain relief. Damaged wiring, missing grounding, or an unsuitable receptacle should be corrected by a qualified electrician.

We can review many listed residential units, including InSinkErator models and other common brands. Compatibility depends on the sink, mount, cabinet, appliance branch, drain height, power setup, and the installation instructions for that exact model. Brand alone does not determine whether the unit fits the existing plumbing.

Repair may make sense for a correctable jam, loose drain connection, worn baffle, or replaceable seal when the motor and housing remain serviceable. Replacement is usually more practical when the body is cracked, the motor has failed, corrosion is extensive, or the same problem keeps returning. We inspect the evidence and explain both paths before you decide.
Talk to a Plumber